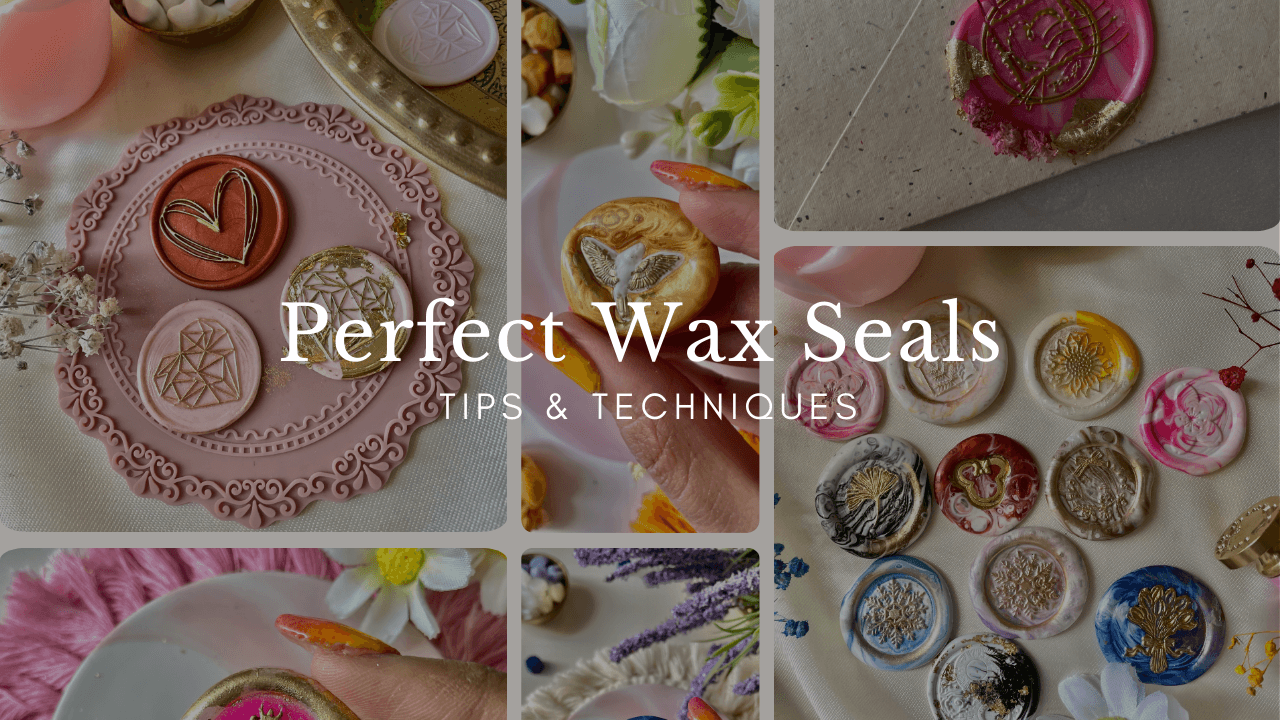
Wax seals add a touch of elegance and personality to letters, invitations, packages, and creative projects. To achieve perfect results, it is essential to follow some golden rules and avoid common mistakes. In this article, we will explore expert advice on what to do and what not to do when using wax seals, offering detailed techniques and trade secrets. Don't forget to share your experiences and techniques in the comments!
Dos
1. Use the Right Tools
The quality of the tools is crucial for the success of your wax seals. Here are some PaperWrld products that will help you achieve perfection:
- Wax Seal Stamp: The choice of stamp is crucial. PaperWrld offers a wide range of high-quality stamps, available in various designs.
- Wax Seal Furnace: Using a wax furnace allows you to melt the wax correctly.
- Sealing Wax: PaperWrld's sealing wax is available in numerous colors and finishes. Choose from traditional wax, flexible wax, or glitter wax to add a touch of sparkle to your seals.
- Wax Seal Accessory Collection: This collection includes all the necessary accessories, such as wax spoons, wicks, and marble plates, to facilitate the creation of perfect seals.
2. Prepare the Stamp
To prevent wax from sticking to the stamp, dip it in a bowl of ice and dry it with a piece of paper before each use. This trick will allow you to stamp many seals quickly and always achieve a perfect result. Watch this Instagram video to see the technique in action.
3. Achieve the Right Consistency
The consistency of the wax is crucial for achieving a perfect seal. The wax should have a consistency similar to caramel. Avoid overheating the wax to prevent bubbles. If you notice bubbles, let the wax cool for 10-15 seconds before pouring.
4. Pre-Stamping
Pre-stamping can be very useful. Use a non-stick surface like our plate, perfect for this purpose. Once the seal is stamped, you can easily remove it and apply it wherever you want or store it for future use.

5. Reuse Excess Wax
To avoid wasting the remaining wax in the spoon, pour it onto suitable plates for wax seals, remove it, and save it for reuse when needed.
6. Create Perfectly Round Seals
To achieve perfectly round seals, use wax beads instead of wax sticks. Pour the wax in a circular shape slightly smaller than the size of the stamp head. Learn how to do it in these Instagram video.
7. Clean the Spoon
Keeping the spoon clean is essential to avoid impurities in your seals. Heat the spoon with the remaining wax, pour out the excess if necessary. Once dry, cut the wax into small reusable beads. Use a paper towel to remove excess wax, being careful not to burn yourself. Watch this video tutorial
8. Clean the Stamp After Use
Cleaning the stamp is essential to keep it in good condition. After completing your work, slightly heat the stamp and clean it with a soft cloth. This will remove any wax residues and keep the stamp ready for the next use.
Don'ts
1. Do Not Overheat the Wax
Overheating the wax can cause bubbles and ruin the seal. Make sure to heat the wax slowly and evenly to avoid this problem. If the wax gets too hot, let it cool for a few seconds before pouring.
2. Do Not Use Dirty Tools
Dirty tools can negatively affect the final result of the seal. Always clean the spoon and stamp after each use to maintain the quality of your work. A dirty spoon can cause stains and imperfections in your seals.
3. Do Not Forget to Cool the Stamp
If the stamp is too hot, the wax will stick, ruining the seal. Remember to cool the stamp by dipping it in a bowl of ice between seals. An overly hot stamp can cause the seal to deform.
Advanced Techniques
After discovering the dos and don'ts with wax seals, let's explore some advanced techniques to create real works of art. Don't forget to experiment and try new techniques. Let us know your favorites in the comments.
1. Mixing Colors
Mixing colors can transform an ordinary seal into a work of art. There are two ways to mix colors:
- Mix the colors directly in the spoon, adding beads of different colors without stirring too much for a marbled effect.
- Mix the colors on the desired surface, pouring one color over another and experimenting with different pouring methods to create unique effects. Watch how to do it in this video.

2. Creating Marbled Effects
To create a marbled effect in your seals, pour the wax in different ways, such as in a circular motion, in a horizontal loop, or forming an infinity symbol. Each method will give a different and unique result. Watch this video for inspiration.

3. Creating 3D Effects
For the more experienced, it is possible to create a 3D effect by working directly on the stamp. Pour the color on the stamp, remove the excess for each desired detail and color, and repeat the process until the design is complete. Finally, choose a background color and stamp your masterpiece on the desired surface. This technique requires practice and precision, but the final result will be extraordinary. Watch this video to see the technique in action.

4. Highlighting Seals
Add gold or silver details to make your seals stand out. Use a gold/silver marker, gold or silver powder, or gold or silver leaf to add a touch of class to your seals. Watch this tutorial to see how to do it.

Recommended Products:
- Gold/Silver Markers: PaperWrld's metallic markers are ideal for adding refined details to your wax seals.
- Gold/Silver Powder: For an even more elegant effect, use gold or silver leaf available at PaperWrld.
- Gold/Silver Foil: PaperWrld's gold and silver foil sheets are perfect for adding a luxurious touch to your wax seals, giving them a shiny and sophisticated finish.
- Add Glitter to Your Wax Seal: Enhance your wax seals with a sparkling touch using PaperWrld's Sparkling Glitter Sets. These sets are perfect for adding a bit of shimmer and making your seals stand out even more.
Creating perfect wax seals requires practice, patience, and attention to detail. By following these tips and techniques, you can achieve professional and satisfying results. Share your experiences and favorite techniques in the comments, and don't forget to explore PaperWrld's products to further enhance your creative projects. Have fun with your wax seals!