Frequently Asked Questions
1. What is a wax seal?
2. What supplies do I need to create DIY wax seals?
3. Can I use seasonal themes for my wax seal designs?
4. How do I ensure my wax seal stamp works effectively?
5. How should I store my wax seal supplies?
When it comes to sending letters that leave a lasting impression, nothing compares to the unique touch of a wax seal. These decorative elements not only enhance the visual appeal of your correspondence but also add a layer of personalization that standard envelopes simply can’t achieve. If you want to elevate your letter-writing game, this guide to DIY wax seal designs is for you. Plus, we’ll explore how you can incorporate trendy motifs, including Witch Stickers, to create captivating seals that match your aesthetic.
The Art of Wax Sealing
Wax sealing has a rich history that dates back centuries. Originally used to secure documents and letters, this art form has transformed into a popular method for adding flair to personal letters, invitations, and even gift wrapping. Here’s everything you need to know to get started with your own DIY wax seal designs.
What You'll Need
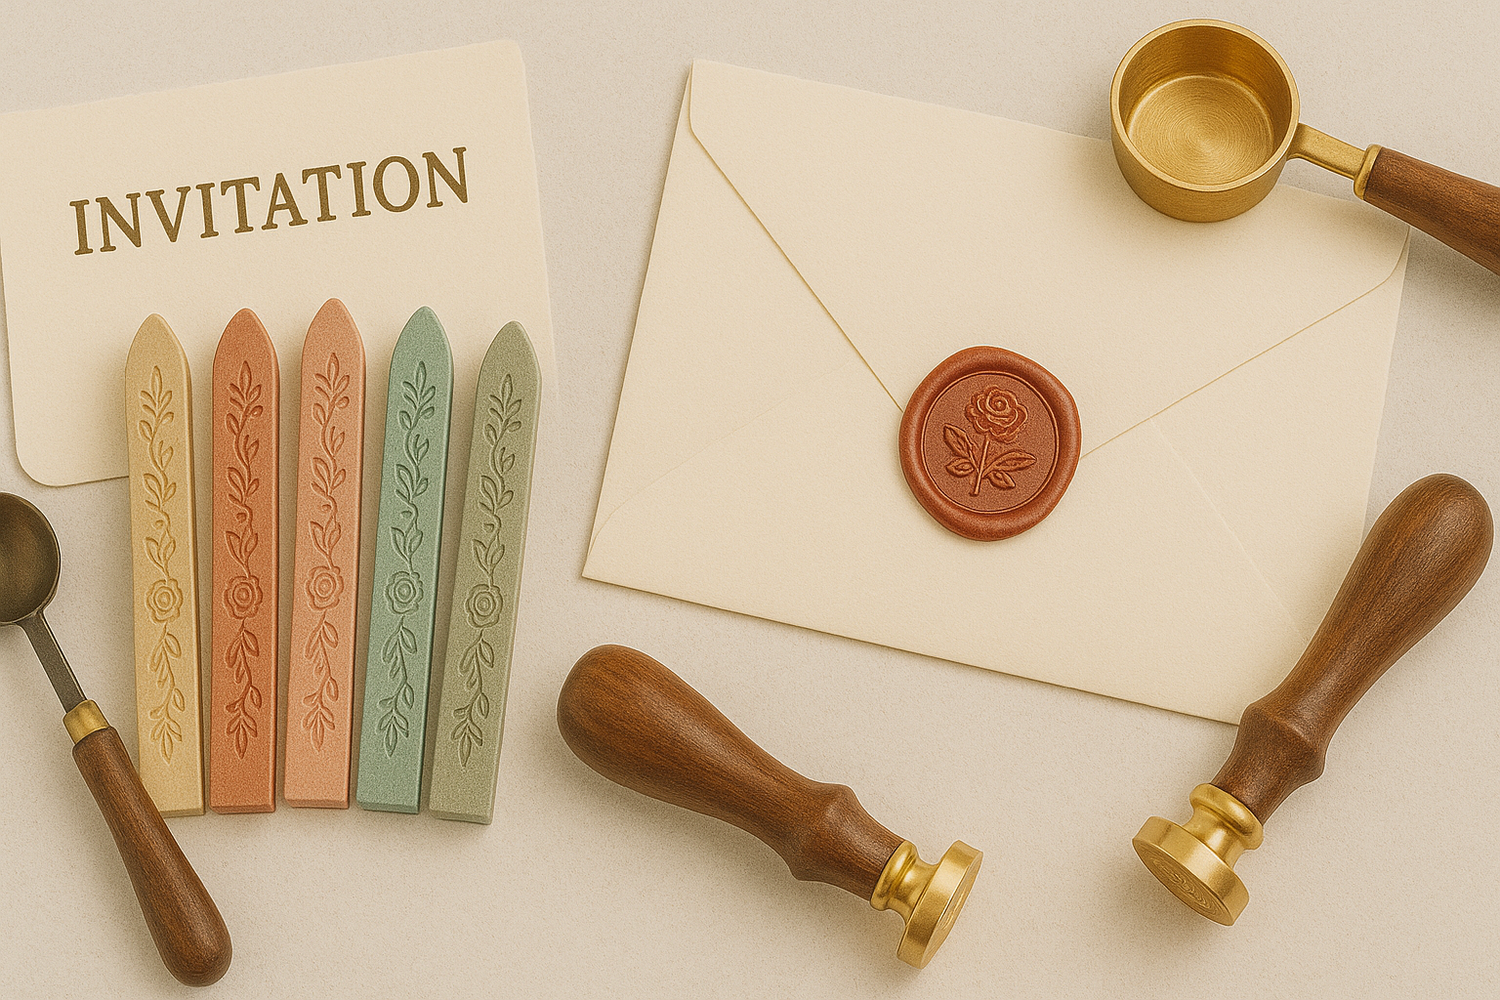
Before we dive into making beautiful wax seals, gather the essential supplies. Here’s a quick checklist:
- Wax sticks or beads
- Seal stamp (with your chosen design)
- Heat source (a lighter, candle, or melting spoon)
- Non-stick surface (like parchment paper or a silicone mat)
- Optional: Witch Stickers for added flair
Choosing Your Design
Your wax seal design can be as simple or as intricate as you wish. Here are some popular choices that resonate with a variety of styles:
Classic Monogram
A classic monogram seal is timeless. You can create one by using initials that represent your name, family, or business. This style adds a personal touch, making it perfect for all types of letters, from personal notes to formal invitations.
Seasonal Themes
Adapting your wax seal design to the seasons can add great charm. From floral designs in spring to cozy motifs in the winter, your creativity can shine through:
- Spring: Floral wreaths or blossoming branches.
- Summer: Sun motifs or ocean elements like shells.
- Autumn: Leaf patterns or pumpkins.
- Winter: Snowflakes or evergreen trees.
Incorporating Witch Stickers for a Unique Touch
For those with a penchant for the mystical or whimsical, incorporating Witch Stickers into your wax seal design can offer a unique aesthetic. Imagine a wax seal adorned with a small witch hat or potion bottle, setting the perfect tone for a Halloween-themed letter or a magical invitation. Get creative and mix these elements to suit your ideas!

Crafting Your Wax Seals
Now that you have an idea of what designs you can create, let’s get into the crafting process. Making wax seals is straightforward, and with practice, you’ll be able to produce stunning results in no time!
Step-by-Step Guide
- Prepare Your Work Surface: Lay down parchment paper or a silicone mat to catch any spills and keep your workspace clean.
- Heat the Wax: Using your heat source, melt the wax stick or beads until you have enough for your seal (about a dime-sized amount is typically sufficient).
- Pour the Wax: Once melted, carefully pour the wax in the shape of your intended seal. This should be about the size of your seal stamp.
- Stamp the Seal: While the wax is still warm and soft, press your seal stamp firmly into the wax. Hold it there for a few seconds to ensure a good imprint.
- Lift and Remove: Gently lift the stamp straight up to reveal your wax seal design. Be careful not to pull or twist, as that can ruin the seal.
- Add Stickers: If you’re using Witch Stickers, now’s the time to add them. They can be placed around the wax seal or even on the envelope itself.
Creative Ways to Combine Wax Seals with Your Letters
Now that you’ve mastered the art of wax sealing, here are a few ways to truly integrate them into your letter-writing practice:
Embossed Envelopes
Consider embossing your envelopes with a subtle design before adding the wax seal. This creates an additional layer of texture and interest that recipients will surely appreciate.
Gift Tags and Place Cards
Wax seals are not just for letters! Use them on gift tags or place cards. A stylish wax seal with a unique design can elevate any gift or table setting.
Sealing Invitations
If you’re planning an event, unique wax seals can serve as beautiful accents on invitations. Consider matching your seal design to the theme of your occasion to reinforce your aesthetic and make the invites unforgettable.
Maintaining Your Wax Seal Supplies
Like any craft supplies, proper maintenance of your wax seal materials will enhance their longevity. Here are some tips:
- Store in a Cool, Dry Place: Keep your wax sticks and seals away from direct sunlight and humidity to prevent melting or warping.
- Cleaning Your Seal Stamp: After each use, gently wipe your stamp with a soft cloth to remove any residue before it hardens.
- Check Conditions: Periodically inspect your supplies to ensure they are in good condition and ready for use.
Final Flourishes
Crafting your own wax seals is not only a rewarding activity but also a brilliant way to add personalization to your letters. Whether it's simple monograms, seasonal themes, or mystical Witch Stickers, the possibilities are endless. You’ll be able to send your correspondence with confidence, knowing that each letter is truly a work of art. Embrace your creativity, and let your personality shine through every wax seal you create!


